Mistakes during mortar preparation tend to be the main causes of damages in flooring installation. Carelessness in this stage results in harm to the process’s lifespan. And, consequently, to the professional’s reputation.
To eliminate this problem, keep reading. In this text, we’ve gathered the main impacts of poor preparation and tips on how to ensure the quality of the activity.
Why Can Mortar Preparation Be One of the Main Installation Mistakes?
Mortar preparation tends to be one of the main causes of issues during flooring installation, considering that it is responsible for the proper bonding of the pieces.
If done irregularly, it can lead to damages such as the detachment of the tile. This problem is, in fact, a major concern in the construction industry.
According to the most recent data from SindusCon-SP, 20.7% of responding construction companies had issues with ceramic detachment in their works. In 81.4% of cases, it occurred within the first two years after application.
In other words, incorrect preparation of this material hinders the adhesion of the tile to the substrate. Consequently, the porcelain tile will not be properly fixed, resulting in a superficial and inefficient finish.
Thus, in the future, there may be breakages, rework, increased costs, material waste, and even accidents.
All of this directly affects the final result and the customer’s perception of quality. Consequently, the professional responsible for the activity will suffer negative market impacts.
Keep in mind that the current consumer profile is one that uses virtual spaces to make recommendations and evaluations of products and services. Therefore, negative experiences make it difficult to acquire new customers.
To support this statement, we can cite some data gathered by BuzzLead. 92% of consumers worldwide say they trust a friend or family member’s recommendation over any other form of advertising.
On the other hand, 58% of them share positive experiences and seek the opinion of friends and family when discussing brands on social media.
We see, then, that investing in quality in all stages of the finishing process is a very effective way to build customer loyalty.
How to Avoid Mistakes in Mortar?
As shown above, mistakes in flooring installation due to poor mortar preparation can lead to significant problems for the professional. From the complete inefficiency of the entire activity to accidents and a terrible reputation.
Therefore, to help you prevent this from happening, we have listed some tips below that will contribute to the excellence of this activity. Keep reading to check them out!
Evaluate the Application Area for Mortar
This is a step that is not directly related to mortar preparation but is equally important and worth mentioning. After all, it is of no use to follow all precautions if the area to be applied with mortar is not in ideal conditions.
An unsuspecting look might start preparing the material before realizing that the installation process is not possible at the moment. This will cause waste and delays.
Therefore, it is crucial to assess the cleanliness of the area to ensure it is free of dirt, dust, stones, and different types of residues.
It is also important to analyze the squareness of the environment. The recommended angle between walls and floors after plastering is 90º. Additionally, study the slope and water drainage.
Finally, check if the substrate preparation was done correctly to ensure mortar adhesion. Remember that it cannot be smooth; it needs to have a rough surface and must go through the curing process for 14 days.
The tip here is to be attentive to the industry standards and requirements to ensure the quality of the activities. This is an important step for performance, safety, and error elimination.
The standards for mortar include:
– NBR 13281-1: Requirements and test methods Part 1: Mortars for coating walls and ceilings;
– NBR 13281-2: Requirements and test methods Part 2: Mortars for masonry and mortars for fixing masonry.
Choose the Right Type of Mortar
Another important step that has an impact on preparation is choosing the right mortar. This influences the performance and lifespan of the floor.
After all, there are specific adhesive mortars for indoor and outdoor environments, walls, floors, and facades. Each one follows necessary specifications for the quality of the coating and application.
For example, mortars for indoor environments must ensure that the movement and circulation of people do not affect the result. On the other hand, mortars for outdoor environments need to be weather-resistant.
Similarly, it is essential to choose the mortar according to the material to be installed. This is because each mortar performs fixation differently, with or without the help of water during mixing. This detail affects the durability of the installation, depending on the material of the coating.
Mechanical fixing mortars are excellent for ceramic tiles since ceramics are porous and have a high water absorption capacity. Porcelain tiles, on the other hand, work better with chemical fixing.
Follow the Manufacturer’s Recommendations
The next step to ensure the quality of mortar preparation is to follow the manufacturer’s instructions. There will always be indications regarding the measurements and step-by-step instructions for preparation.
Correct specifications about the amount of water to be used in the mixture or any other type of product will be provided. They also usually explain how the mortar should be used, including the ideal interval for usage.
Also known as “open time,” this is the characteristic of the mortar that guides the perfect application. It indicates the period during which the material can be used for laying, ensuring maximum efficiency.
If this time is exceeded, the mortar will not adhere to the tile. On average, the open time is usually 20 minutes. However, again, it is advisable to follow the manufacturer’s instructions.
It is worth noting that the conditions of the location where the mortar is being prepared also affect this time, such as temperature and prevailing winds.
Therefore, it is recommended to prepare small quantities of mortar to ensure quick and simultaneous application, avoiding waste by exceeding this time.
Use Good Materials Suitable for the Process
Finally, it is essential to use suitable materials and accessories that optimize this practice, ensuring not only the perfect preparation of the mortar but also its application.
For example, the mortar mixer is responsible for making the material more homogeneous and resistant. It brings productivity and quality by speeding up the process excellently.
Its dynamism can mix liquid and fibrous materials, promoting uniformity, cost reduction, and waste elimination.
The mortar applicator automates the application. This is an ideal accessory for laying in large areas, optimizing the stage. It tends to have a large capacity for storing this material.
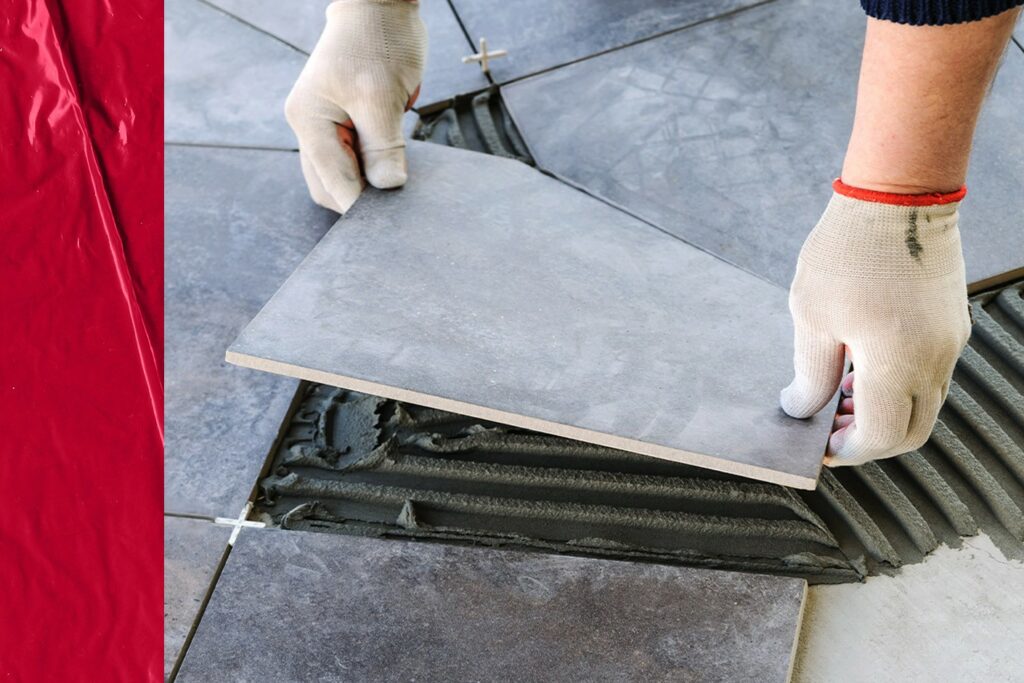
It has teeth similar to those of trowels. Therefore, it can perfectly replace this tool during the development of the necessary grooves. This ensures agility and productivity.
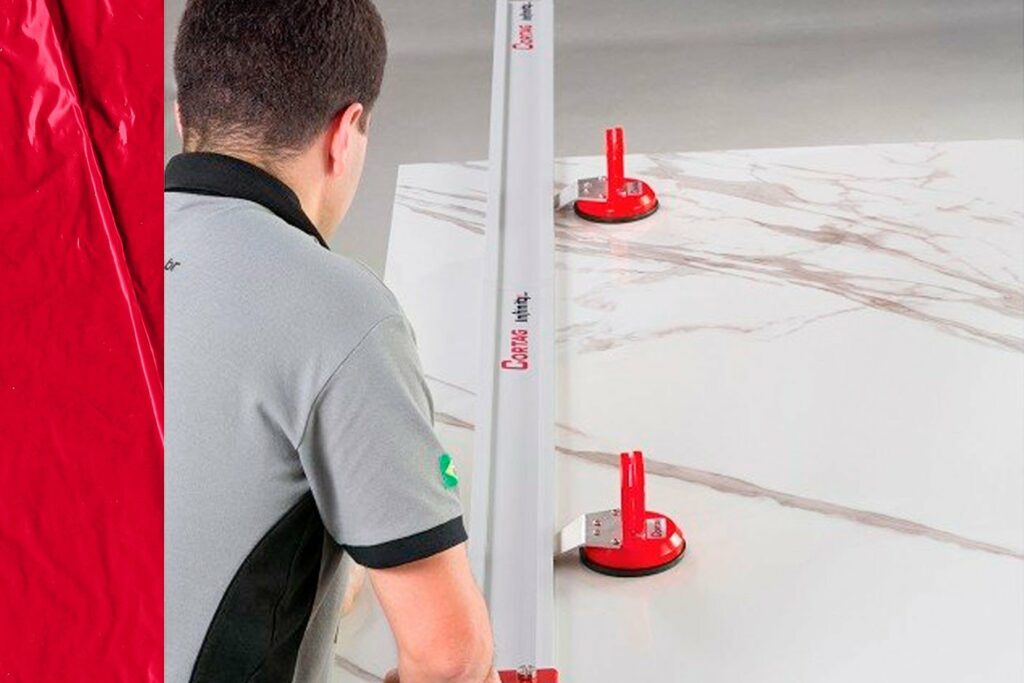
In addition to them, it is essential to pay attention to the integrity and quality of the notched trowels, spatulas, and scrapers used, as well as other tools and equipment used in this phase, such as floor cutters, wedges, and spacers for alignment.
All these precautions make the process more automated, economical, and efficient.
To promote the correct preparation and installation of coatings, download our checklist for free. In it, we gather all the necessary materials to ensure the quality of this phase.

